
Sticking out from my toaster’s head like a crude antenna, is a classic lawn ornament, the flamingo I’ve come to call Carl. Unlike most of the other residents in the lab, he is not an electronic or robotic thing. It has been my intention since I brought him home last September, to liberate Carl from his static form to join the ranks with his mechanical compadres:
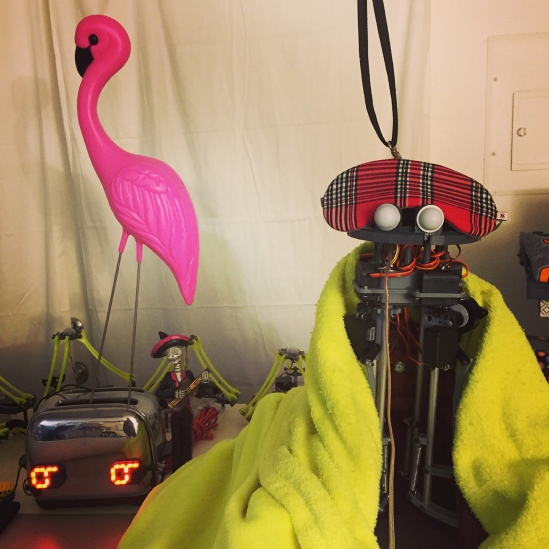 Carl’s fate is to become a ball-balancing robot… one with motors and wheels… that can balance… on a ball. If you’ve ever seen one, ball balancing robots are impressive as hell and fascinating to watch… because you almost can’t believe that they could work as well as they do! I mean, heck… I can’t even balance on the floor sometimes.
The first thing I learned upon researching these beasts, is that in order to build one of my own… I was going to need to locate some “omni” wheels to play with. Never having heard of an omni wheel before, I googled the term and found hundred of pictures of crazy looking shapes that reminded me of futuristic frisbees or saw blades:
 So, they’re wheels with wheels. heh. They’re needed so the ball can glide freely in whatever direction the motors collectively force it to… like butter. Friction is bad. Binding is bad.
I ordered the smallest wheels I could find in two varieties. Surprisingly, for such complex looking shapes, they weren’t terribly expensive; about $5 on average a piece. While waiting for them to arrive in the mail, I started designing the “body” of the robot.
I came to learn that there are in fact a lot of similarities between the delta robots I’ve built in the past… at the three pronged balancing bot. At least, in that they both involve three motors working together mathematically to resolve a common point. Since they are both radial bots… I proceeded to use one of the delta robot’s acrylic bases as a mounting plate for Carl’s stepper motors.
Rather quickly, I printed some brackets on Monday:
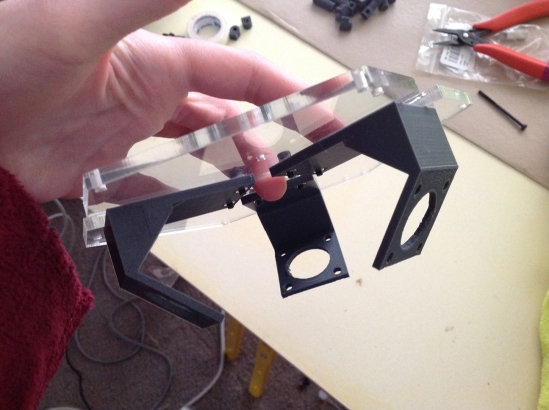 Almost immediately after putting together this first base assembly, I drew what I thought I’d want the finished robot to look like… and saw in my own sketch that the assembly could be a lot more “talon-like” if the mounts of the motors branched out at 45 degree angles from a central point (instead of just being stuck to a big plate).
So… I started over. The hard part about making the new bracket design was taking into account while I modeled it, that one side must lay flat on the print bed >.< This threw my head in loops for a while, but I eventually hammered out a piece that worked…
 By this time my omni wheels had arrived, so my next challenge was to figure out how to mount them to the gear shaft of the steppers. Sadly, the wheels came with no couplers of any sort, so I would have to print my own. =[
- The shaft I designed would have to fit snugly in the center of the wheel
- and also couple onto the gear shaft of the stepper motor by means of a set screw
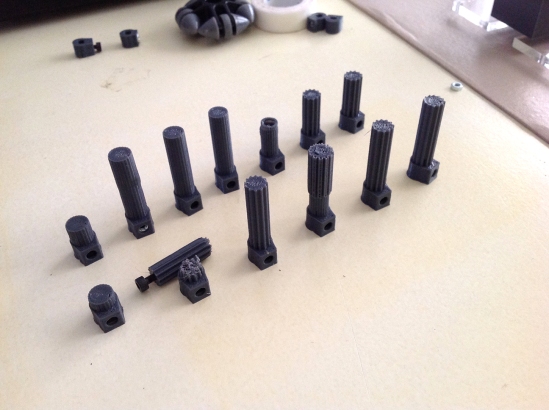 This coupler took me fourteen- YES ( 14 ) ! revisions to get the tolerances juuuuuusssst right… the shaft inside the wheel fits tight but not too tight:
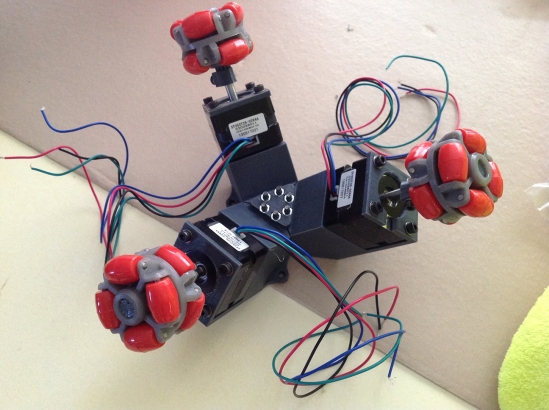
 With the wheels mounted to the steppers, the assembly looks kind like a big chicken foot:
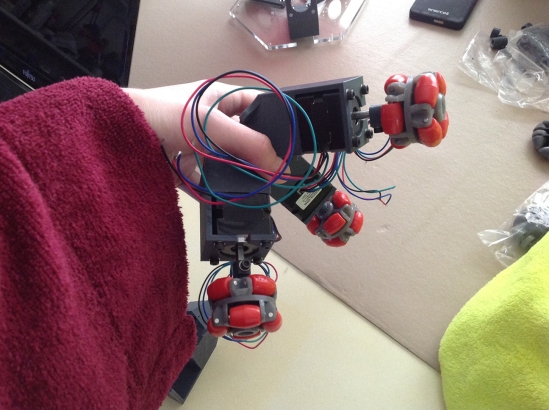 …which is what I wanted… BOCK!
 At some point Thursday night… I pulled Carl from his metal legs and did the morbid task of marking his belly with a dotted line. Instead of doing the messy deed of severing his drum-sticks immediately, I got distracted and went to bed, leaving Carl nestled in Noodle’s blankie to suffer over night with thoughts of what would happen to him the following day.
 Cutting the big oval around his little birdy nubs wasn’t at all hard… Once I drilled a starter hole, the thin blown plastic cut like paper with a pair of nippers. When I finished, I held Carl and told him everything was going to be alright…

Sarah soothes the legless Carl
I used Carl’s disembodied gams to measure how large the adaptor for his chest would need to be. The pipe which would act as Carl’s… leg… would mount at a 25 degree angle into his belly. Designing this part was not as difficult as I thought it would be. The actual pipe mount and belly adaptor ended up being two separate pieces (for ease of printing):
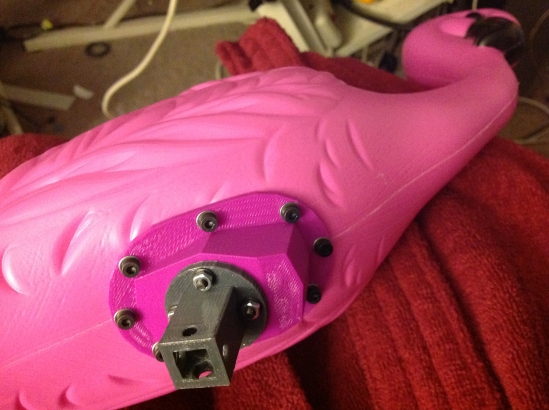
 The screws that connected this fancy shape to Carl, went through his belly and met a plate of nuts set on the inside, clamping everything firmly in place (but this wasn’t easy to execute!):
 There wasn’t anything to hold the plate on the inside of his body while I screwed into it… other than some tape, which kept coming loose and plopping down into the cavity of Carl… forcing me to start the process over again.
After a couple tries I got everything screwed on, and Carl felt a lot better about himself… so did my conscience:
 On the opposite end of the pipe, I made another adaptor that connected to the motor assembly:
 Once this was added, I put everything together and had this sexy looking bird before me. The essence of the flamingo:

Carl, el Robo Flamingo
Carl isn’t technically a “new” sibling… but now that he’s a moving robot, Noodle sees him as competition. Hopefully in the weeks to come they can learn to get along and share their living space.

Carl & Noodle, BFFs forever
The next step of the project is to wire up those steppers to some driver boards and start moving them. I anticipate that every piece of Carl will be redesigned and optimized in the near future to make way for the mounting of his brain… and power supply. I just couldn’t help myself from designing the robotic form first. To me that’s the fun part… =
Carl will also have his own presence on my personal site, zoness.com. So look for new bird art in the coming weeks as we dive deep into Maker Faire season.
