

I was searching through DIY project ideas when I found an instructable on how to make an Arc Reactor from misc plastic pieces (Make an Iron Man Arc Reactor). The coiled wire and blue lights were so appealing to look at that I decided to give the new laser cutter down at the hackerspace a try and make a set of lenses that looked like mini ‘reactors’.
My color scheme this time was going to be black and neon yellow (my favorite color) which I thought the blue LEDs would complement quite nicely….
It took no time to design the shapes for the lenses in illustrator and manifest the acrylic into two layers that once stacked, gave some depth to the radial design:

In itself this looked pretty cool but I still needed to wrap magnet wire around the thin sections of the left most lens. I also needed to come up with a circular disk that would wedge behind these neatly shaped lenses and hold six LEDs in place. This took some trial and error to achieve the snug fit :

The fun part as always (I say this with heaps of sarcasm) was doing the stitching on the leather straps. The thread I found was a nice brilliant neon but it was nylon, which was a paint to work with as it snagged on everything and didn’t like to hold a knot. To work around this I added a dot of super glue to every tied end and waxed the thread with a cheap candle to prevent the fine fibers from snagging on my cuticles while I sewed. :

With the leather work finished and the lenses/LED holders cut, it was time to design the schematic and PCB. I did the majority of the schematic on my own without Jeff’s usual help. The chip installed is again an ATTiny 4313. :

Etching and drilling the board was the last step I completed before my surgery which put me in the hospital for two weeks at the end of January, so the project has actually been shelved for quite a while. It felt good however to have something to come back to that was already well underway once I was done recovering.
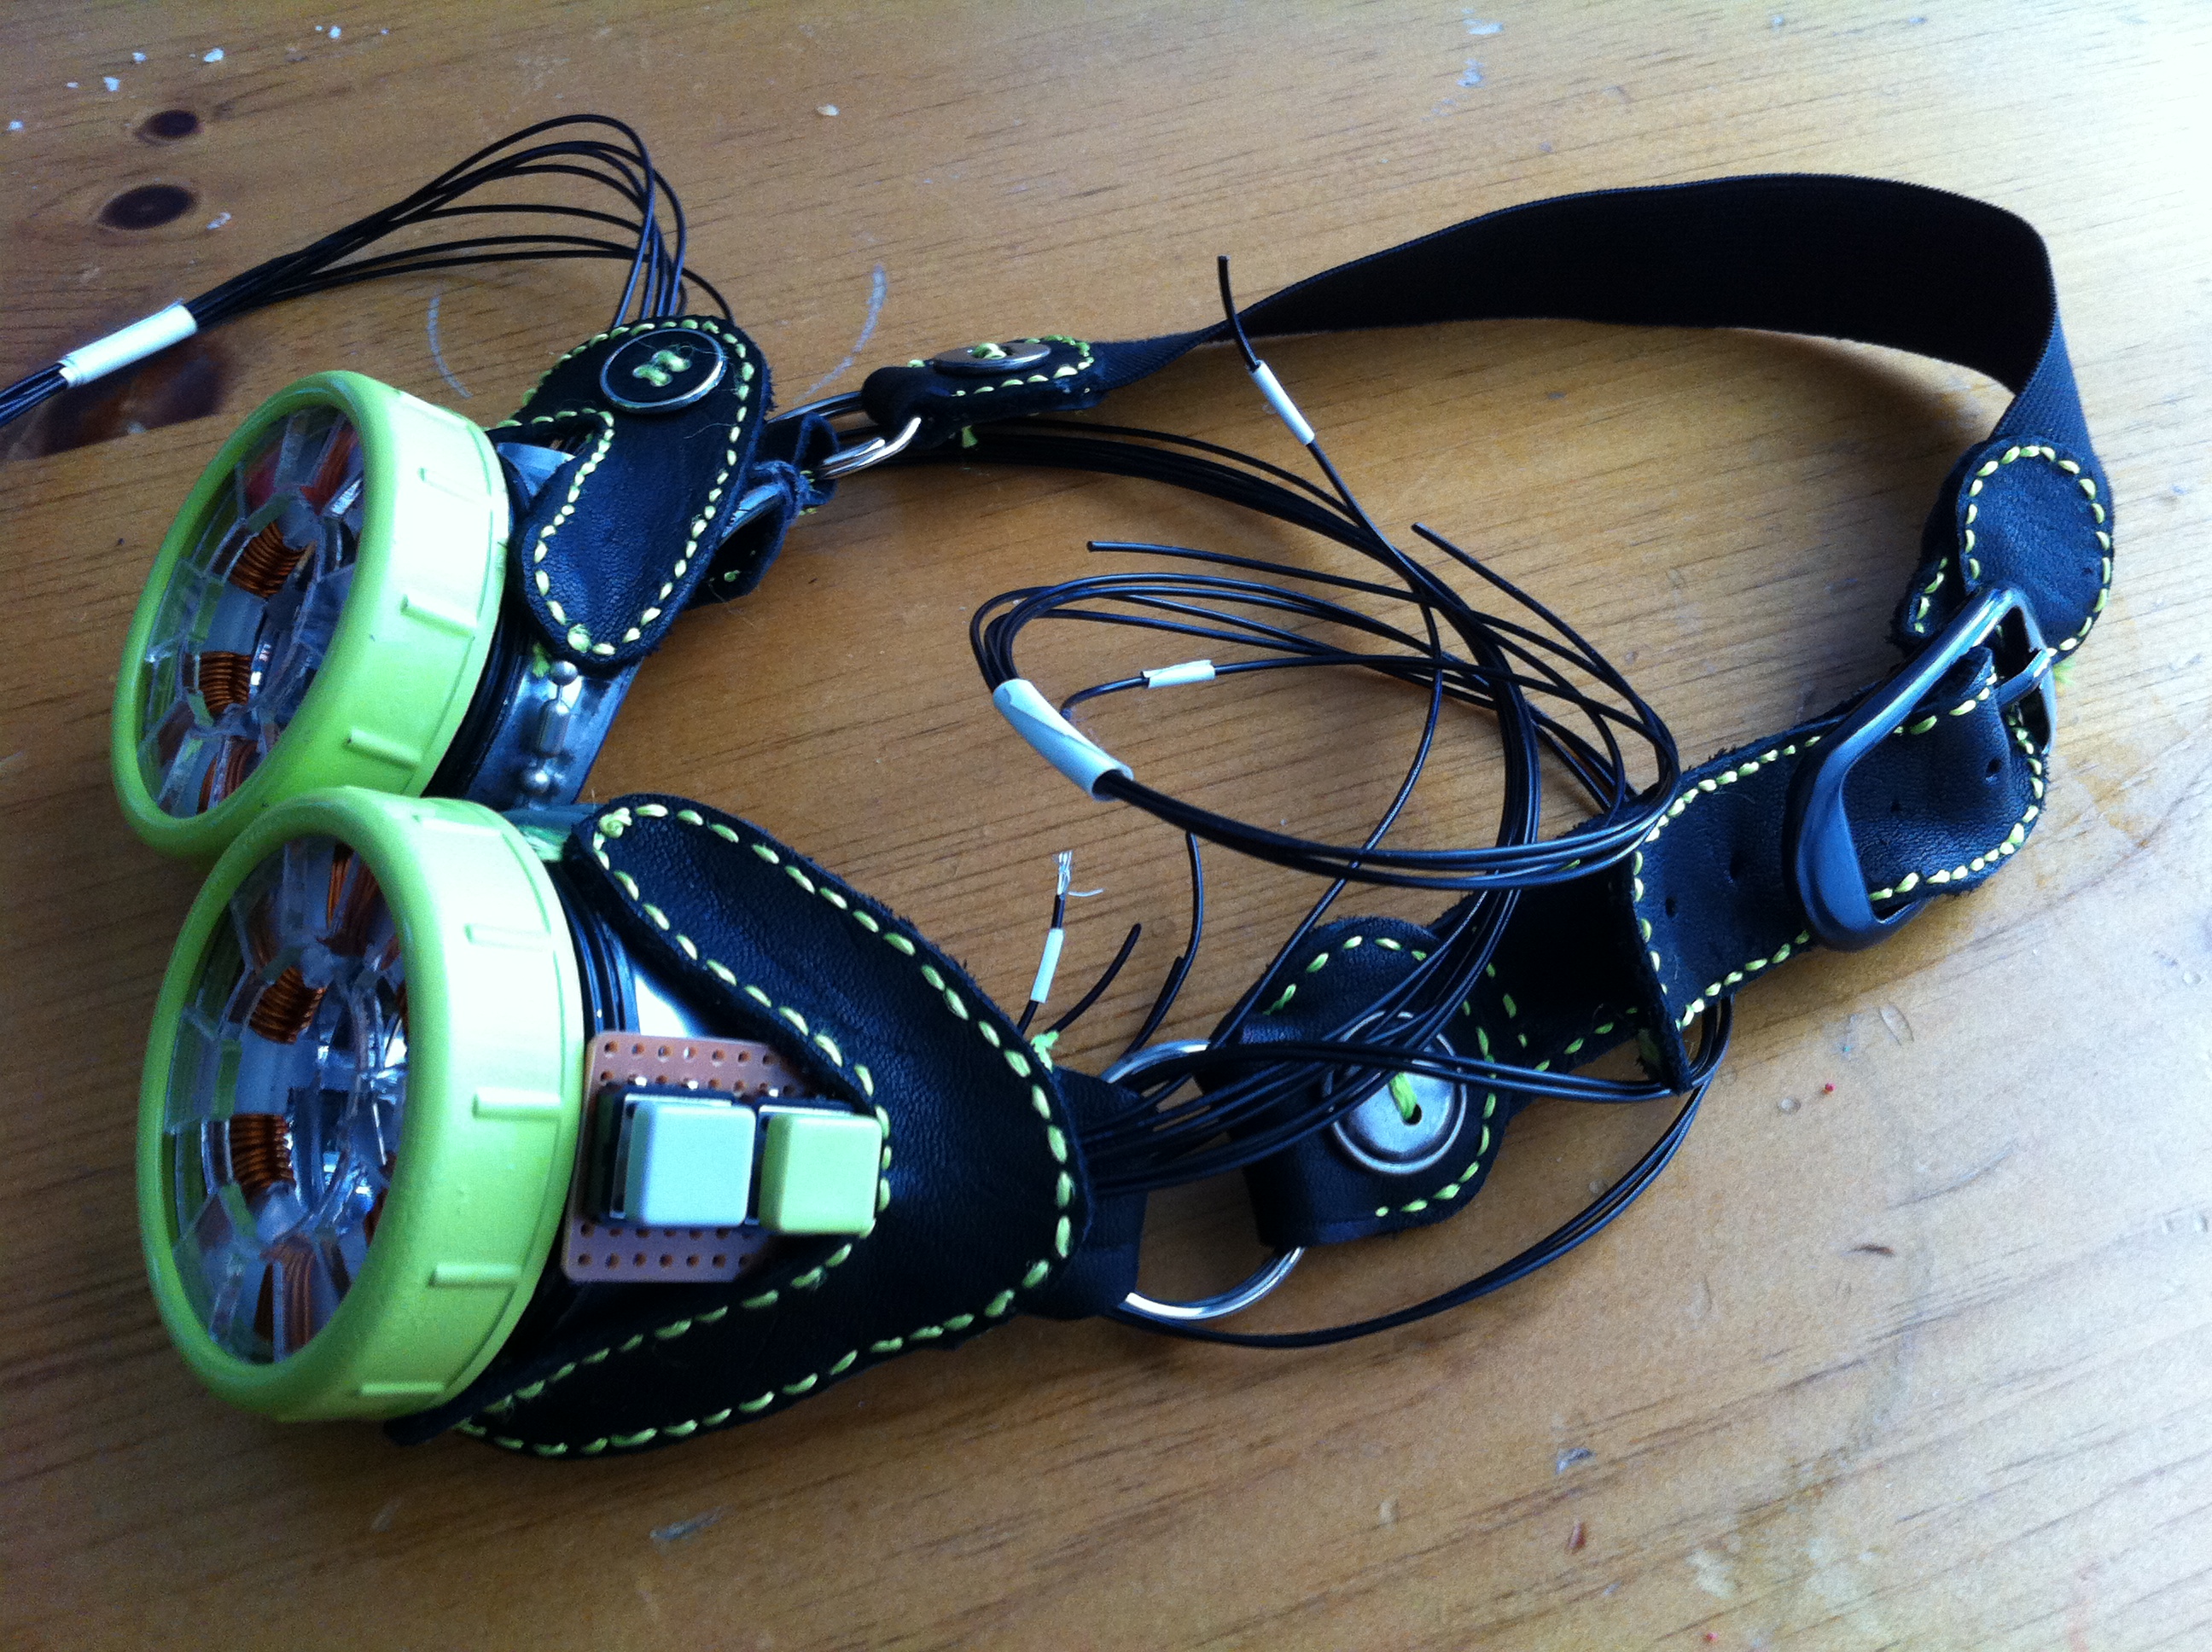
I spent this weekend sizing and soldering the wire to all the LEDs and buttons. :

I made sure I soldered the correct LEDs to each pin by giving the wires super big idiot proof labels :

…The two push buttons on the side to control the speed and mode of the LEDs :

With that the exterior was pretty much complete and looking snazzy :
Prior to going in for surgery I had spoken to my friend Justin from SYN Shop about what I wanted the LEDs to do. He offered to write me some code that would add some variety to the way they lit up. In addition he taught me how to upload the code he wrote using the Arduino sketch to the ATTiny 4313 board I had installed on my PCB! -Really neat thing to know as I am new to using other micro controllers and still have my arduino water-wings on.
Sadly, when I eventually was ready to upload Justin’s Arduino code onto the ATTiny chip, this cool trick didn’t work like it was supposed to. For some reason when the 4313 board was selected the code would not compile. So… I brought the goggles and my problem with me to the hackerspace this Saturday and did some troubleshooting with my friend Mark, who is the biggest electronics wiz I know. There, over many hours of getting distracted by our other friends, we slowly worked out the bugs. We were able to use a force command to make the arduino upload the code to the ATTiny 2313 version of the board (because it is ultimately the same chip as the 4313 but with half the memory) which worked:
In the end we got the thing doing going perfectly. The different modes are extremely cool looking. Now admire the sexy :

GQ Mark :
…………….. John :
goofball Jeff :
and unamused Aakin :
A HUGE thank you to Justin (Gizmaniac) who wrote my snazzy code and taught me how to upload arduino sketches to alternate boards, Mark (circuit monkey) who helped me work out the various bugs in the code and wiring, and to Jeff (Krux) for giving me creative advice as well as access to everything I could possibly need to make all these awesome things <3. This pair of goggles is that much better because you’ve all had a part in their creation!
-

- Me and the Makerbot


-

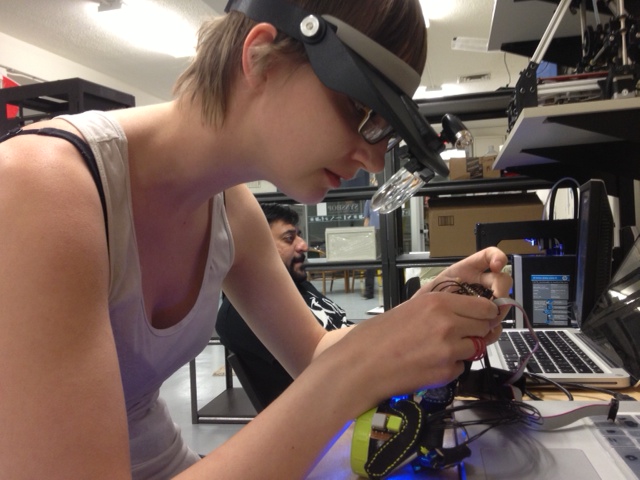
- me acting like I’m focused…

-

- …Putting them on completed

-

- Mark…
-

- …and Mark
-

- …LOL John
-

- Aakin
-

- Jeff ❤

Pingback: Reactor Goggles #WearableWednesday « adafruit industries blog
I’ve been trying to learn other processors as well and the 4313 has been so flexible. I’ve made the “tiny Matrix” ( https://sites.google.com/site/tinymatrix/ ) which is fun too! I’d love to take a peek at your code if you don’t mind sharing!
Those are some sweet goggles!
Pingback: goggles… | clunk, thunk [rant] and solder